Proxmox: A VM Server For Your Home
Being primarily a Mac user, I quickly realized a desire to get my hands dirty in other OS environments. Looking for the biggest bang for my buck, a friend suggested building a server dedicated to virtual machines, using Proxmox.
ProxMox is a headless, open-source Linux distribution which lets you install as many operating systems as you want in the space available. It can run Windows, Mac, Linux, and other operating systems simultaneously. You can see the OSes boot in a window through your browser when on your ProxMox IP address. The full desktop is viewable right there in your browser.
Hardware
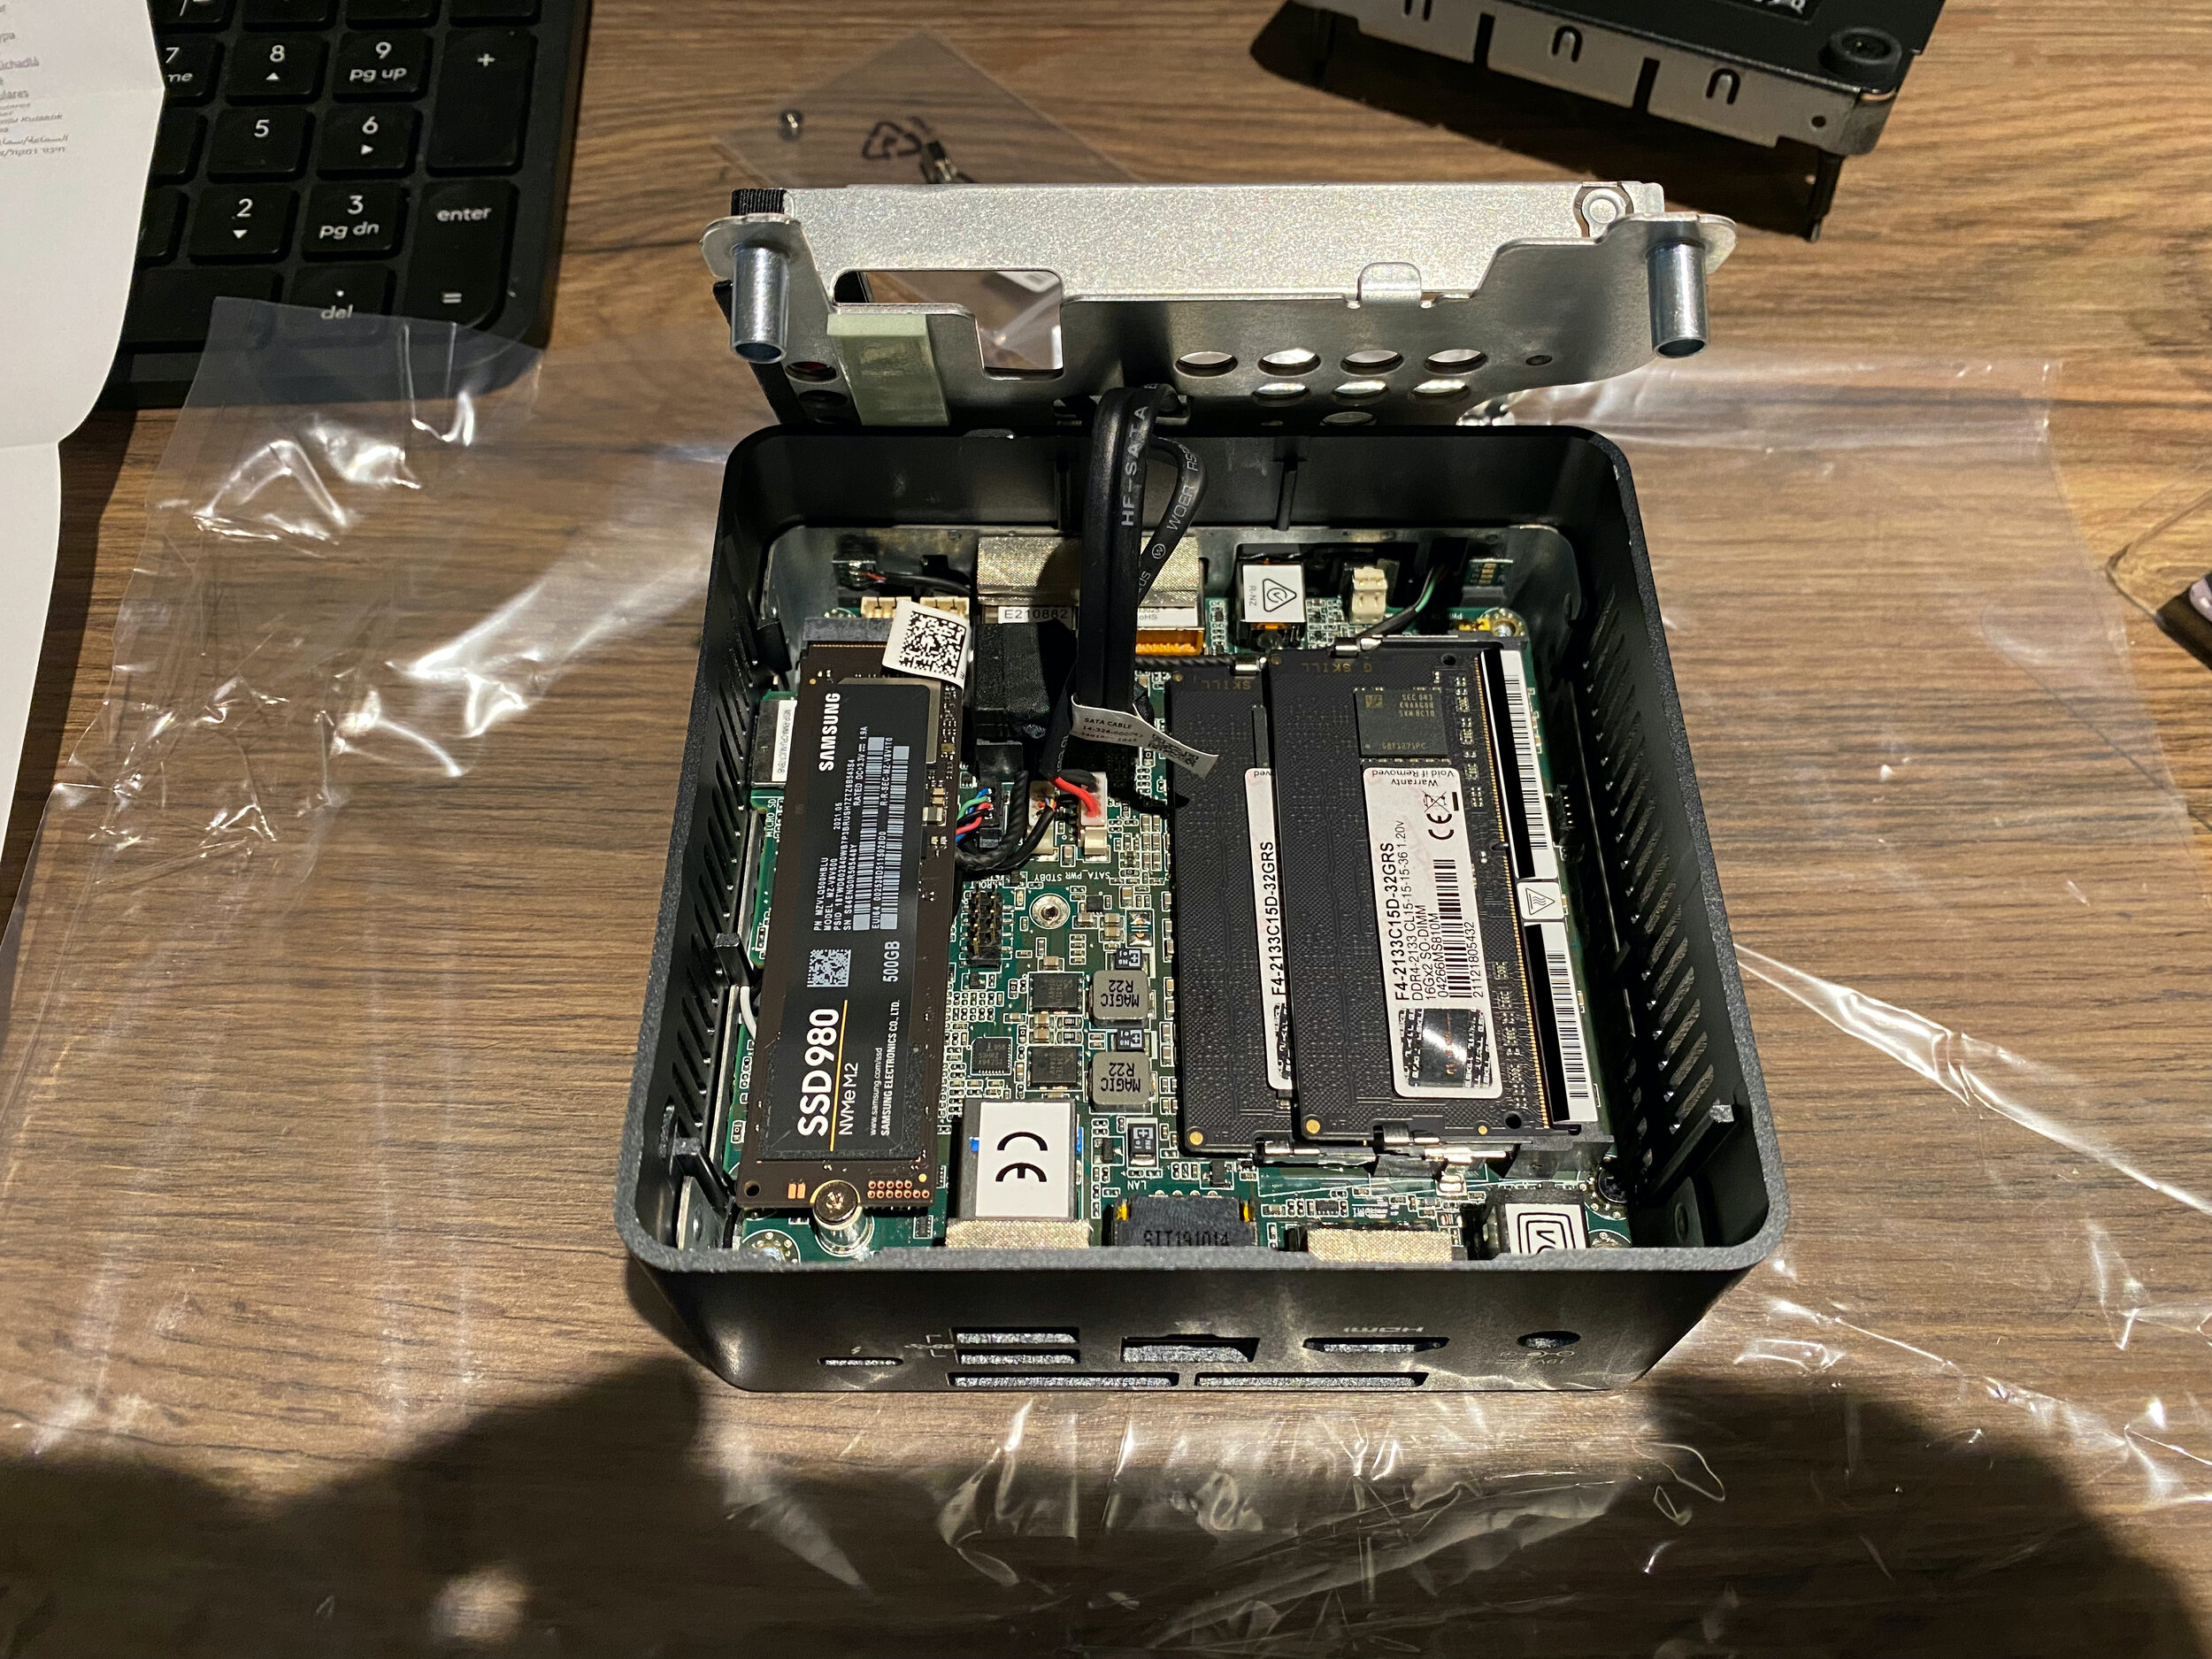
Depending on what you want to do may determine your hardware requirements, but this is what I recommend. I wanted the smallest footprint possible, and my research led me to Intel NUC kits. These are tiny DIY chassis that include a board, processor, integrated graphics, LAN, and even Bluetooth. Where two core CPUs is an option, I would recommend a four core minimum. The more cores the better. As for speed I started out with a i7-7567U Intel Processor and the speed was acceptable. The 7th generation model that I purchased is a bit dated, but has plenty of utility for my purposes with 6 USB ports, 1 Thunderbolt 3 ports, HDMI, microSDXS, and Ethernet. The full specification list can be viewed here: Intel® NUC Kit NUC7i7BNH
I started out with 16GB but found that major OS full desktop VMs like to have about 6GB of RAM so that will limit running multiple OSes. I’ve since upgraded to 32GBs of DDR4-2133 1.2V SO-DIMM RAM running at their standard profile settings. Now I can fully run the majority of major OSes on my system along with multiple Linux server CTs/VMs. It’s feels nice having these contained systems and the many options they provide.
I recommend the first drive be a SSD of at least 120GB (40GB becomes the Proxmox main host and acts as your CT/VM image installer storage). Then you can add as many drives as you want to the pool of varying sizes, whatever large drives you can scrounge up. I installed a Samsung 500GB NVMe M.2 for speed and intend to add an addition 500GB 2.5” HDD/SSD to experiment with RAID configurations.

Proxmox VE Installation
Proxmox is a fairly straight forward installation onto bare metal. Just download the ISO image and create a bootable USB. From a Mac I used the Terminal to create the USB boot drive.
Note: When using this method, files from the destination drive will be permanently replaced with the contents of the ISO file. Therefore, I recommend that you create a backup of your data. To start, connect your preferred external drive to the Mac. Next, launch the Terminal application, which can be performed by using Spotlight or going to the Utilities folder under Applications through Finder. When the Terminal window appears, type the following command to see a list of volumes connected to the Mac.
diskutil list

When Terminal displays information about available volumes, look for the line with the name of your external drive and make a note of the identifier displayed on the same line. For example, above it is 'disk3s3'. Once you have found the identifier of the flash drive, unmount the target volume by using the following command, replacing 'identifier' with the one found from the displayed list:
sudo umount /dev/identifier
These steps prepare the flash drive for the formatting process, which is required to write the ISO file to the external drive. Bear in mind that all content will be removed permanently and you cannot press Command and Z or perform any function to undo this action. Another important point is the identifier - as mentioned before, type this carefully, since even a small mistake can result in loss of all content stored on a volume. Carefully type the following command to write ISO files onto the flash drive. Remember to replace 'identifier' with the appropriate text:
sudo dd if=/path/image.iso of=/dev/ridentifier bs=1m
An example of correct syntax with a Proxmox ISO file called 'proxmox-ve_7.0-1.iso' would be:
sudo dd if=~/Desktop/proxmox-ve_7.0-1.iso of=/dev/rdisk3s3 bs=1
To clarify, note that an 'r' signifier is placed before the disk identifier - this boosts commands speed. The 'bs=1m' placed at the end of the command is a statement of blocksize, which also increases the speed of the process. Neither of these adjustments are necessary to copy the ISO file to the flash drive, but they result in a faster process. Once you are sure the syntax is correct, hit Return and enter the administrator password to execute the command. Note: There is no progress bar or indication of process status. Be patient and wait for it to complete. The time required to finish the writing process depends on various factors such as power of the Mac, hard drive and external drive capacity, size of ISO file, etc. Finally, when the process has finished, eject the flash drive by typing the command below (the installer drive will then be ready to use):
diskutil eject /dev/identifier
Note that this method works with all types of ISO images, including the ISO file of the Mac volume.
As for Proxmox itself, it has an automated installation wizard. For configuration settings, the Proxmox team provides an extensive wiki reference documentation and video tutorials to configure the GUI, which is way more thorough than I can be here. The good thing is that any setting can basically be undone if needed, so don’t be afraid to experiment!
Once complete, your display can be disconnected for access via a web browser using the assigned IP address and port number. A new feature with Proxmox 7.0 is the ability to download ISO files directly within Proxmox, so the step of creating a bootable USB for every VM is gone, unless you want to have one made for additional purposes.
Summary
Proxmox is pretty fantastic with many options for configuring system startup in VMs, system CPU and memory utilization, networking defaults and firewalls, and multiple node spawning/sharing if you have more than one computer running Proxmox. It’s been a good experience as my first time trying a headless VM server. It’s well worth getting set up as an entry into building a compact home lab.